I never thought it would take two full weekends to finish this job. And it's going to take more, because we're still not done.
An evening call to Hi-Torque Electric (sorry to disturb you so late, Jim) verified that we can run the car with only three bolts holding on the brush endcap. And we set up a deal: I'm going to get one of Jim's variable timing brush rings. When it gets here, I can use all four bolts in the neutral holes and set the variable timing lever at the right place. Sw33t!
With that encouragement, we started reassembling the car. It was a thrill ride to disaster.Update 2005-05-01: pictures!


We bolted the brush endcap on the motor and jacked it into place. The transmission mounts were a bit of a pain to get back on, but we cajoled them into place. Then we noticed that the motor mount didn't fit any more.
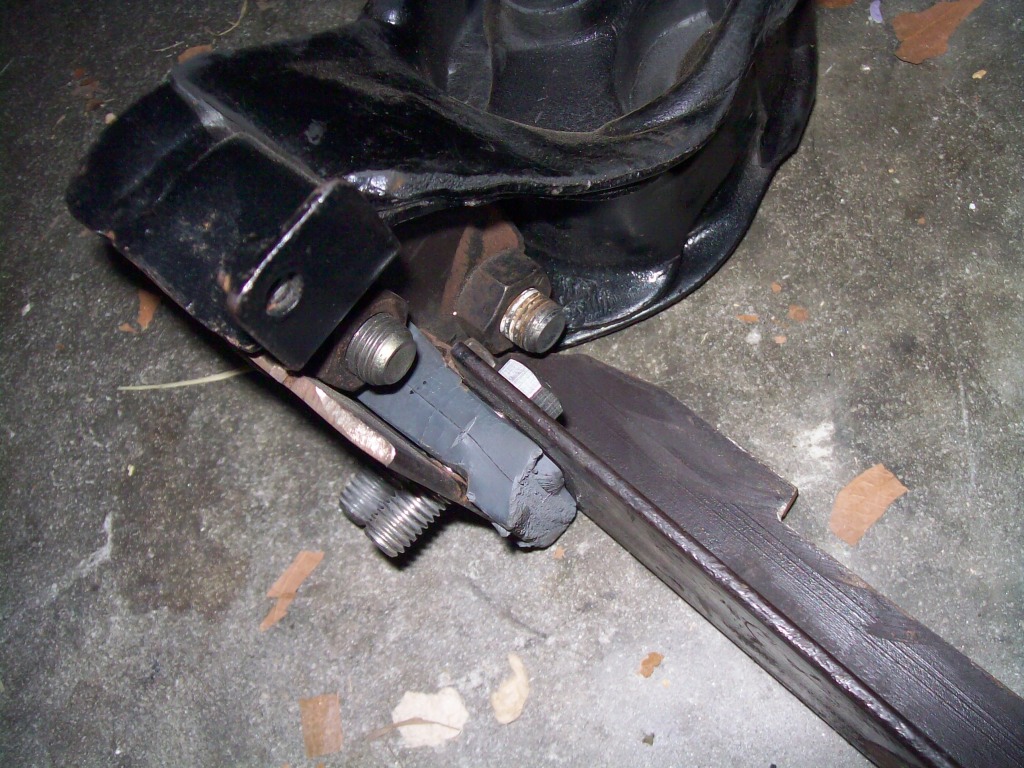
The idea is to keep everything level, especially the transmission (so fluid flows properly). Nathan had bodgered together a bracket from two pieces of angle iron taken from a bed frame. At the time, he couldn't drill holes into it, so he had been astonished to discover where the world's depleted titanium supply had been going. He cut the pieces in strategic locations, and got them to bolt together with (in my humble opinion) an absolutely brilliant design that has the nut from one half the bracket holding the nut from the other half in place. If I ever get the pictures up, you'll see what I mean here.
Unfortunately, the bracket went straight down from the motor mount and intersected the bolt holes on the front of -- you guessed it -- the motor's brush endcap. Which we had just rotated 24.5 degrees clockwise. Of course the bolts didn't line up any more.
Tools down! Thinking time. This was important, and required some brainpower to guarantee a good solution.
Obviously what we needed was a new bracket. But the motor holes were no longer in line with the mount, so straight angle iron wouldn't work. We tossed some ideas around, most of them lame.
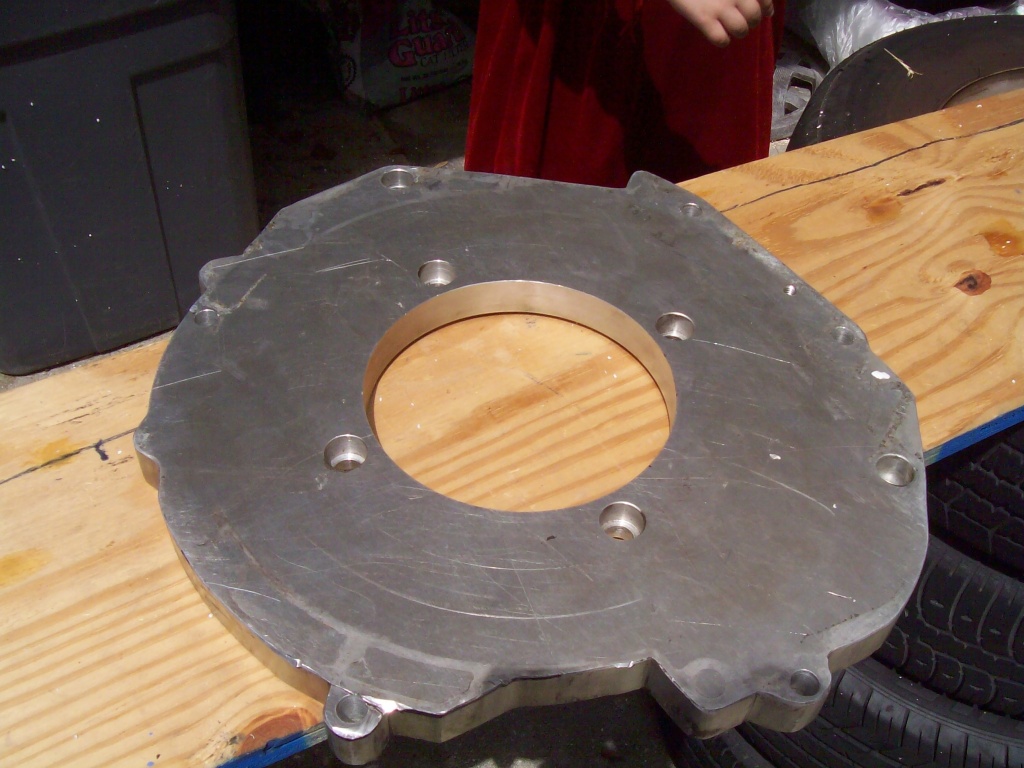
The right way to do this would be to fashion a bracket out of some 1-inch thick piece of solid metal.
Like the original adapter. It was designed to attach the other end of the ADV 9" motor to a late-80s Oldsmobile station wagon. I briefly entertained thoughts of selling it for a couple of hundred dollars. Then it occurred to me that nobody is interested in converting a late-80s Oldsmobile station wagon to battery power. It's lame. Nathan thinks that ripping off the roof and going overboard with the bling would have made it a seriously rocking car. I think it would have been hideous. In either case, what's the chance that I'd get to sell the adapter?
It's 1" aluminum stock now. With pre-drilled bolt holes! We'd need some longer bolts, of course...
I was a little worried about having to cut and drill through thick steel. Nathan reminded me it's aluminum, and then corrected himself: ALL metals are steel. Aluminum is just soft steel. Copper is conductive steel. Silver is valuable steel. Gold is very valuable steel. Chrome is shiny steel. Brass is shiny yellowish steel. Drill bits and taps are (apparently) hard but brittle steel. We kept it up while we looked for something to make a template with.


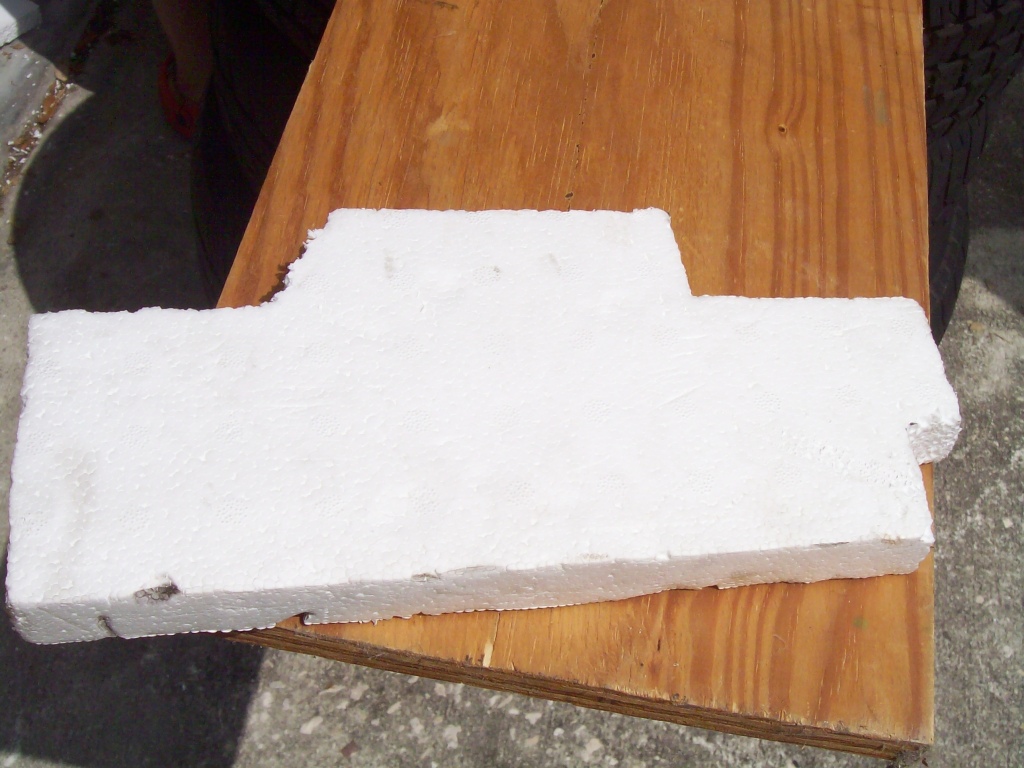
We found a broken old Styrofoam cooler and used one of its sides to rough out a bracket. We had to drop the motor to get the old bracket out, and we jacked it back into place for the fitting. The mount was curved, and we needed to do multiple fittings, but we eventually got a nice Styrofoam bracket. To locate the bolt holes properly, we put the bolts in and pressed the Styrofoam to make an impression.
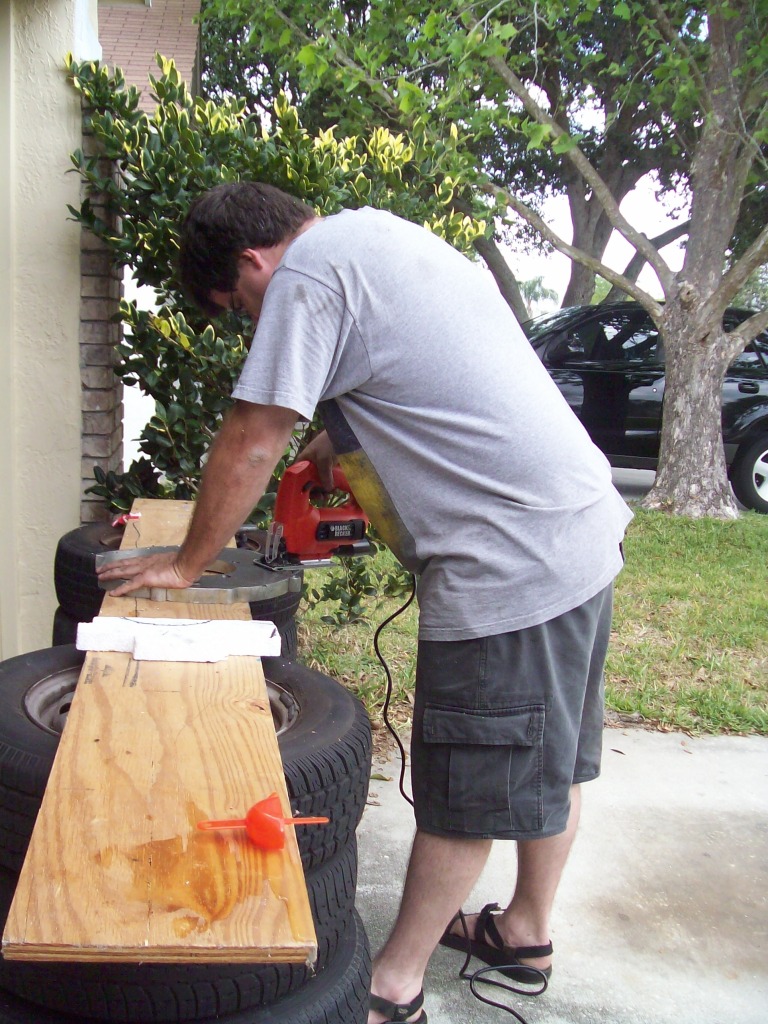
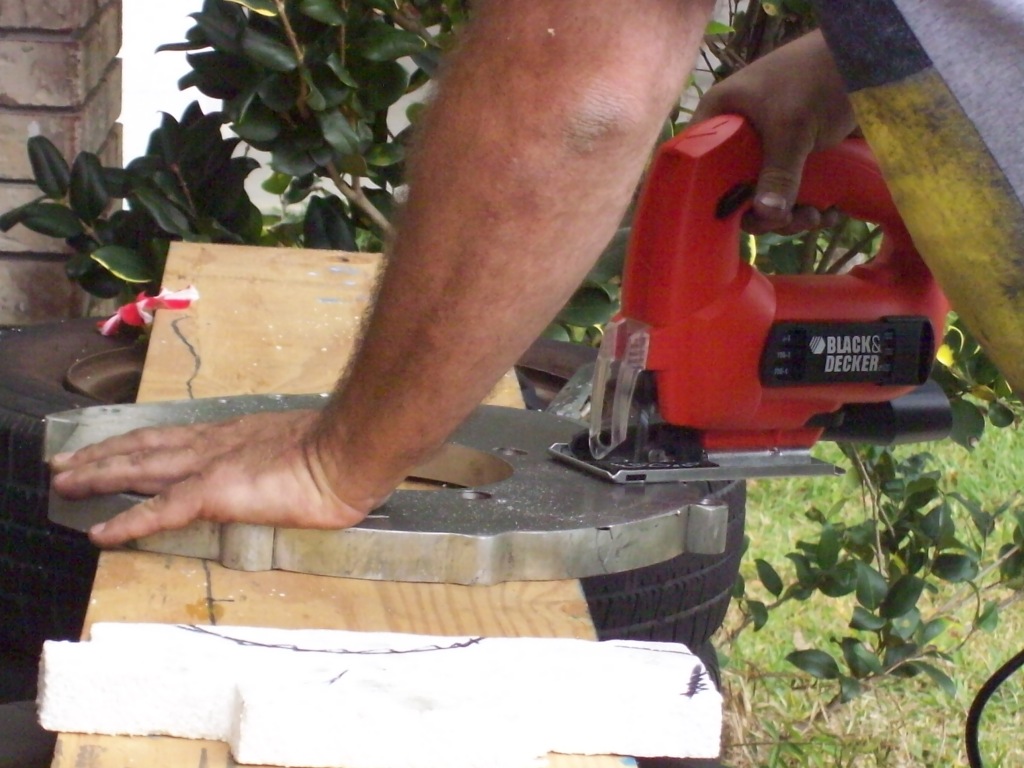
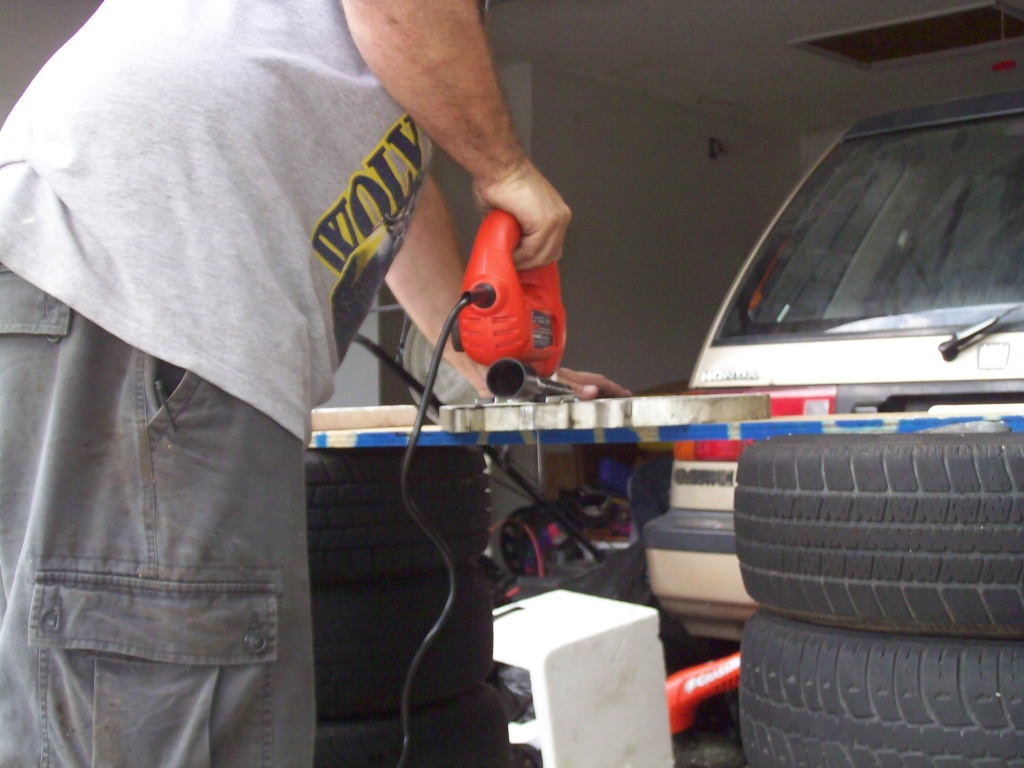
I set up a workbench using old tires and some plywood, and we started cutting the 1" aluminum with our Styrofoam bracket as a guide. It didn't fit over the pre-drilled holes, so we picked a nice big expanse of aluminum. My reciprocating saw seemed like the natural choice for the job, although Nathan hadn't realized I had one. He was expecting to use the hacksaw. (He's not afraid of any old chunk of metal.) I can't imagine ever finishing that job: the saw took forever, and nearly shook our arms off.
Nathan continuously remarked that we should be doing this with a grinder. They're cheap, the blades don't get dull, it's faster, smoother, and makes a cool shower of sparks. The only possible problem would be that a grinder might melt the aluminum. I ignored him, and eventually we got far enough to test fit. We had made the top tab too wide. More cutting and good-natured grousing.
Finally, all that was left was drilling the motor holes in the side and drilling and tapping the giant mount hole in the top. Of course, we broke all our drill bits making the brush holes. Off to Ace, where we measured our bolts and picked replacements. Unfortunately, while they had the 1/2" tap, they didn't have the drill bit. We decided we'd try to get the tap and drill bit together, so we went to Lowe's.
I pulled into the Home Depot by mistake. They didn't have what we needed, either. Lowe's had a 31/64 drill bit, but no such tap. We went to Sears, but they only had the taps and bits in sets, more than $50 each, and I really don't have much use for that many taps.
We had now visited every hardware store in the area. And Ace had closed. We went back to the Lowe's, bought the bit and a nice drill bit set, and headed home.
There we discovered that we actually needed a 29/64 drill bit for the top mount. Mildly discouraging, but not a big problem: I could probably tap the mount hole, measure the deflection, and adjust the bracket during the week.
We drilled the holes for the bracket, except the top hole. It fit when we mounted it to the motor! It looked like it might work! We jacked it into place and started hooking up the transmission mounts, a bear of a job. The transmission needed to be pried all over the place. We had to remove the front mount to get the rear mount in, then we had to push and shove to get the front mount reattached. When the bolts were in, we turned our attention back to the motor mount bracket.
Which had moved towards the front of the car a good 1/2 inch or so, being on the end of a long lever.
The mount couldn't be moved that much. Neither could the motor. We needed to slide or rotate the bracket towards the rear of the car.
THAT was demoralizing. Nathan declared, "We're beat. It beat us." I protested; he admitted we could drill the holes 1/2" to the left, but still insisted, "When your fabricated bracket doesn't fit, you're beat."
And there's no arguing with the fact that it was idiocy to measure and cut a bracket with the motor merely jacked into place: it needed to be mounted. And not picking up the tap was a bonehead move. Up until noon or so, the day had been marked by brilliance and optimism; afterwards, it devolved into stupidity and despair.
We put away the tools, cleaned up the pile of aluminum dust, and headed out of the garage to recover. I was exhausted, partly because I'm so out of shape, and partly because cutting aluminum in the Florida sun is tough. Not to mention pushing a transmission around.
While we sat on the ground commiserating, Eri came out to tell us dinner was ready. My sister Beki had brought over the ingredients, and she had cooked it up. Of course, the kids were running high fevers, and Eri was congested. Her patience was wearing thin, and the kids were being demanding, whiny, and inconsiderate. She went back in to distribute dinner to the kids.
As soon as the door closed, Nathan said, "I don't think I'm going to eat anything prepared in this sick house." At the same moment, I remarked, "I don't want to go in to that mad house."
So at least the day ended with levity. We're not really beat; we just need to recut the bracket or redrill the holes. After that, everything is pretty much ready to be reconnected. The only problem might be the motor cables: we've rotated two of the studs, so we may need to make an extra cable or two to make up the extra length. But I've got the materials and tools for that.
Of course, the problem is that I'm busy all week, and all weekend. We'll probably get four hours to work on it next Sunday, before we head off to the monthly family get-together. So I'm looking at two more weekends, probably. BrushWhacked might actually get to part 10.