Let's see now, where was I? Oh, right. Getting pwned by my electric car project.
So, thanks to measuring under different conditions than the expected operating conditions, my inch-thick solid aluminum bracket needed to be moved half an inch to the rear. We decided to drop the motor again, pull it out, and drill the holes a little to the front.
Constructive geometry to the rescue!
Update 2008-05-01: pictures
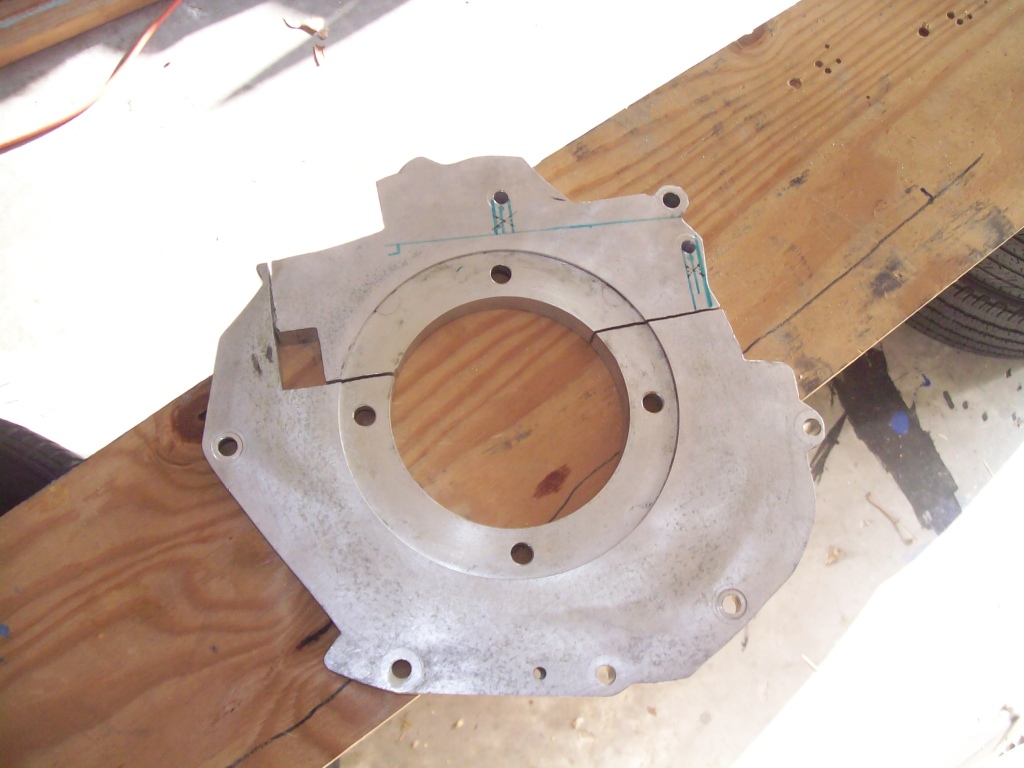
First I made a mark where the inside of the motor mount touched the top of the bracket. That's how far it has to move. Nearly 3/4 of an inch: 11/16, to be exact! Then I broke out the math.

I carefully marked two spots on each of those lines, measure 9/16 and 13/16 from the intersection with the bolt hole. Then I drew lines between opposite corners. Voila! The intersection marks the center of a circle 11/16 forward from the center of the existing bolt hole.
Translation: drill at the center of the X. I didn't get around to that on Saturday, though; we had to go visit Omi and Opi for Passover. I wore myself out playing "dunk" with the girls. It was worth it, though. It was Kayla's first chance to swim since she got the cast off, and she hasn't forgotten anything. Great exercise for her ankle, too.
On Sunday Nathan showed at 8AM, as promised. I was sweeping out the work area and building the tires-and-plywood workbench. Nathan used a punch to score the new centers, and I started drilling with my 5/32 bit.
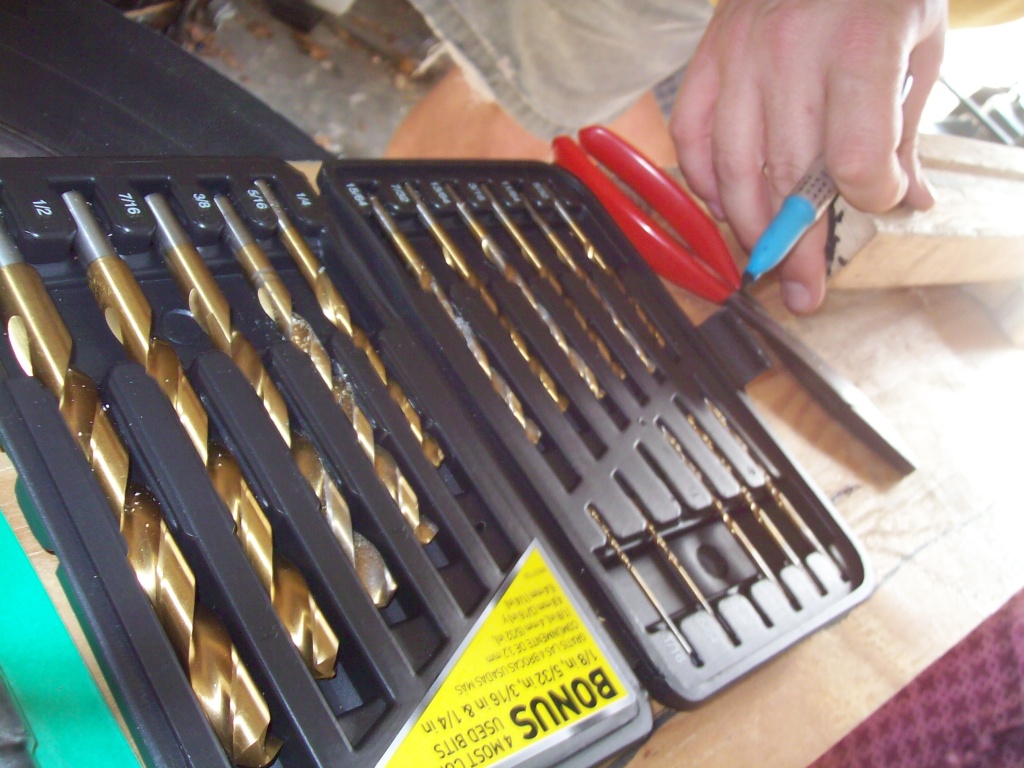
Which I broke off in the hole! Brand-new bits, too. That makes, what, eight tool fatalities in my garage over three weekends, with uncounted wounded? I've decided the place must be named "Toolbane".
We figured we could drill it out from the back. I marked the appropriate location using the same geometry as last time. As Nathan started drilling and pounding, I realized that I couldn't find the bits and bolts I had purchased from Ace last weekend. Besides, I needed to return the wrong-size drill bit and get the right-size one at Lowe's.
We decided to split up, since we only had four hours. Nathan stayed behind and tried to drill and pound the bit out. I went to get the other parts we needed. At Ace, I got the 1/2x20 tap, two 3/8x16 bolts, the tap and bit required for the bolts, and a piece of steel angle iron. At Lowe's I exchanged the 31/64 for a 29/64 and saved two bucks.
By the time I got back, Nathan had drilled both of the holes in the bracket. He showed me a nugget of aluminum, explaining that he had pounded it right through the hole in the back. After that, the rest of the drilling was easy. The holes were in the correct locations (yay, math!), so he had also mounted the bracket to the motor.
However, I hadn't picked up the big 1/2x20 bolt we needed for the top mount. I got some tapping oil while I was out.
By the time I got back from my second trip, Nathan had bolted the transmission into place. Everything fit correctly this time. We used the motor mount to guide the half-inch bit, making a nice funnel as a mark. Then we covered everything with shop rags and started drilling the top hole.


As I was gently drilling that hole, I saw the bit wobbling all over the place. I decided that Nathan's drill was the reason that we'd been breaking bits left and right. I christened it "Bitcrist", and we went to Lowe's to buy some tools.
I got a Black & Decker corded chuckless drill and a no-name grinder. $80 all told.
When we got back, drilling went much more smoothly. In ten minutes, we had a properly sized hole, with no more bit breakage. The tap worked fine, and everything fit beautifully.

Y'know, there's an immense feeling of accomplishment in using the hole you just tapped in a solid hunk of metal. And it looks great! Our new word for this is "sly". We think it's a portmanteau of "slick" and "fly", but it just slipped out of Nathan's mouth multiple times. Our new bracket is very sly.
By then it was noon. Time to get washed up for the family get-together. We made our plans for next week. Among these was the determination that adding extra support with cut angle irons is ugly. It looks stupid, like we had to disassemble garage shelving to put the car together. Another hunk of aluminum will be sly, and countersunk Allen bolts will complete the preplanned, machined look.
That means I'll get to use my grinder to cut a big hunk of aluminum! I could even shape it. Of course, my existing bolts, tap, drill, and brackets can all be returned. If Ace will take them.
Not bad progress for four hours. If we can keep this up (and if I can get in a few hours over the work week), we'll finish it up next weekend!