Is This Good? Late December, 2004
Nathan is prepping the motor. Our adapter plate is on the way, so we need to get this thing ready to install.
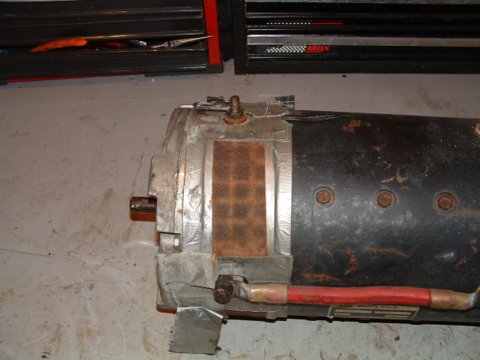
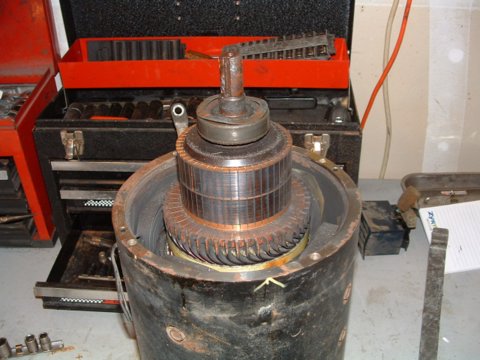

I marked where the holes should go and placed the cap back on the motor, located at it's final location. I placed the bolts through the cap to use as pointers. I used the cap as a guide for the drill bit so the holes would be properly located and straight.
Unfortunately, this meant using an extra long drill bit.
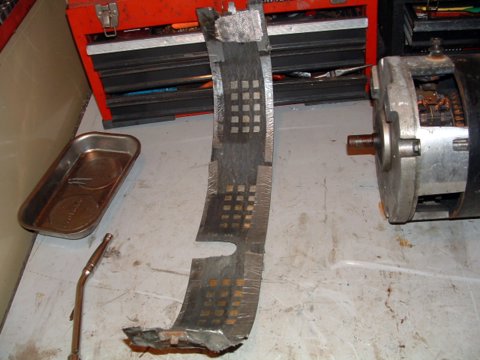
It took 3 hours to obtain the drill bit, a tap, and the tap wrench. I stuffed the motor with rags and taped up the lower holes with packing tape (in abundant supply around here) to prevent any metal filings from getting into the motor.
I was mostly successful about that.
Then I drilled the first hole. First I measured how far the drillbit would have to drill, and marked that on the bit using a piece of electrical tape wrapped around the bit. Then I drilled, stopping frequently to use a magnet to remove the steel drilldust and to spray cutting oil on the bit and down the hole.
When the hole was drilled I removed the cap and tapped it, frequently using the magnet to remove the steel filings. I deburred the hole with a flatfile. I put the cap back on and bolted that bolt in.
Worked great. So I repeated the procedure for the opposing hole.
That one didn't work so great.
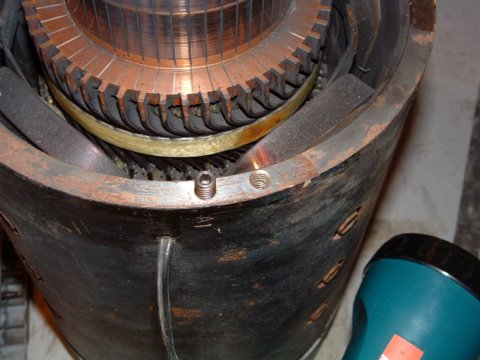
The cap doesn't make a perfect guide, so this hole was a little cockeyed and the bolt went in at a slant. I had to use a 1/4" drive socket because the 3/8" drive was too thick to fit between the bolt and the cap. But it did bolt down tight.
With 2 bolts securely in, it was time to test. So I got the battery out of the Honda, rigged some wires as connections, set the motor on it's side and chocked it with a big wrench so it wouldn't roll off the table. I jumped power to my creation.
Nothing happened.
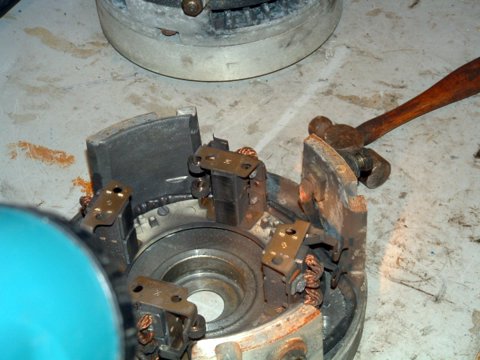
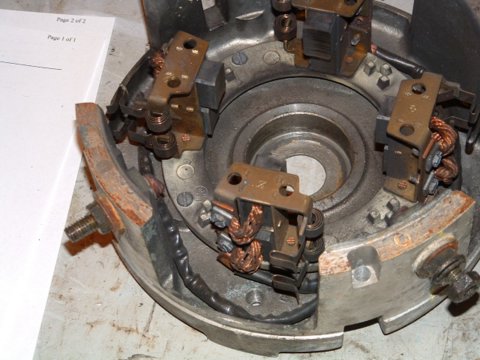
The battery only had 6 volts in it after sitting so long. I also hadn't removed the rags or reset the brushes. So I got the battery and jumper cables out of my truck, removed the rags, reset the brushes, and jumped power to my creation. It sparked and bucked and spun up in a counterclockwise direction.
IT LIVES!!! After silently laughing like a mad scientist I got back to it and made the other 2 holes. Before I put it back together the final time I installed the set screws that plug the holes we aren't using. I'm not really sure why they are there. I figure they are to protect the threads, but you would think the cap bolted tightly over the holes would do that adequately. But it must not, so while I was out buying tools, I bought 4 more set screws and used them in the 4 holes the bolts were previously in. Then I put it all back together and tested it for the final time.
Worked like a champ. The only problem is that the holes aren't perfectly placed and/or straight and I had to finesse getting all the bolts in. But they are within the margin of error and do work.