In this episode of Judebert's EV Conversion Diary, we explain how to ship a broken 110-pound motor to Oregon for the tender loving care of Jim Husted at Hi-Torque Electric. It's no small challenge. And it's nice to have a wife whose father was a boxmaker.
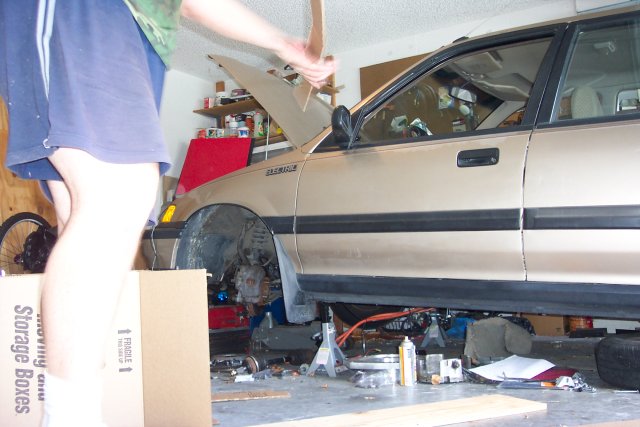
First, of course, you must pick a box. You could crate the thing up, but FedEx and other shippers charge extra to deal with wooden boxes. I decided to go with a cheaper, cardboard box. The model I picked -- available at U-Haul stores -- is not only double-walled, but also is marked as being dishes. Perhaps this will prevent UPS from dropping it; they claim you should pack your box to withstand a six foot drop. But will it hold 110 pounds of metal? Perhaps... with a little modification.
So I bought two. That was $11 to start with. Thus begins the saga of how to pack a box.


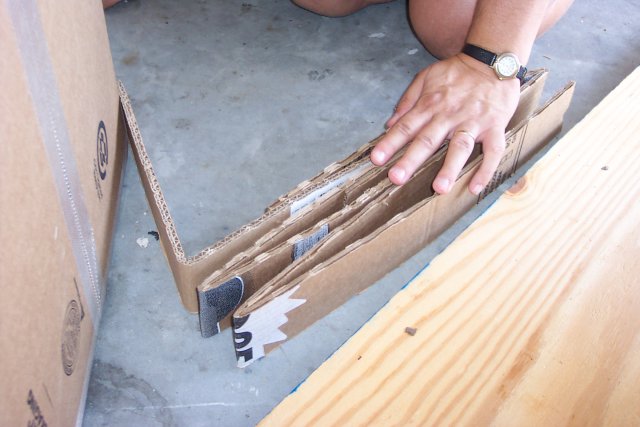
Step 1: Reinforce the bottom. I didn't think that the double-walled bottom would take 110 pounds, concentrated in two circles. So I reinforced it. First, I opened the second box up, resulting in this science-fair ready backboard.
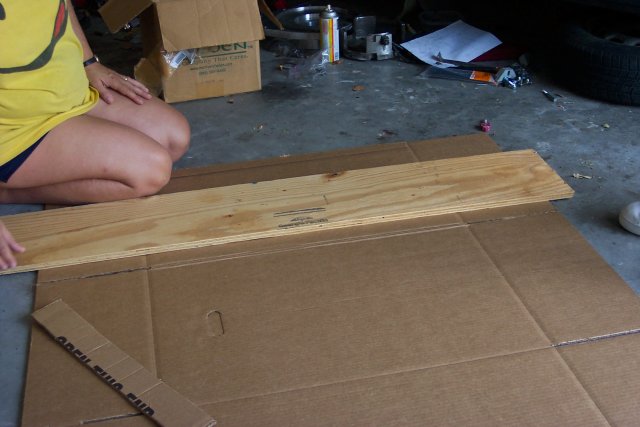
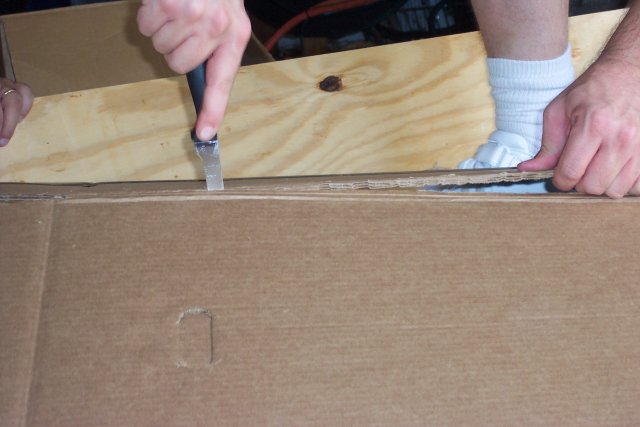
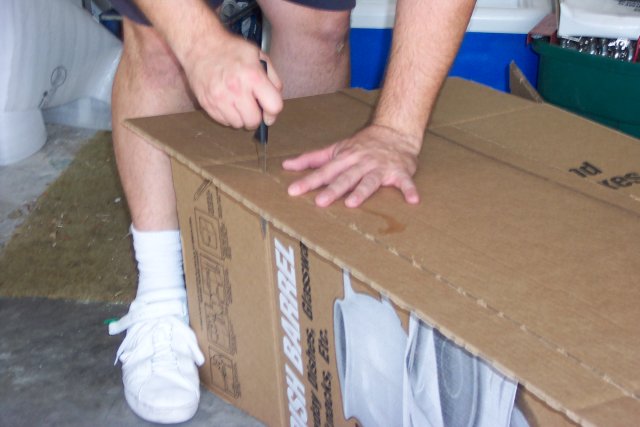
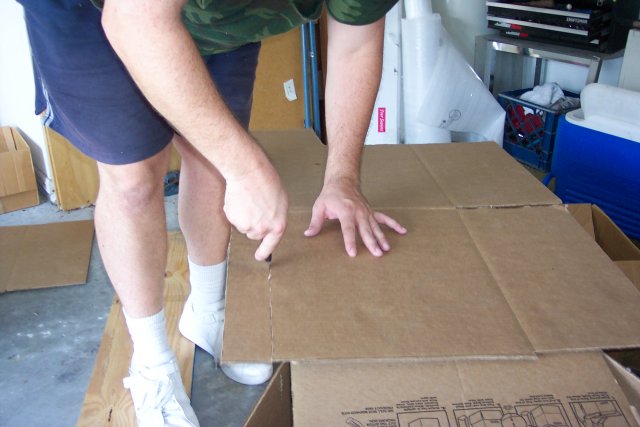
Next, we cut the scrap box into more-or less even strips. These strips will be folded to make a second layer of corrugation for the bottom of the box, about three inches thick, distributing the weight of the motor over the entire bottom of the box. This leftover piece of plywood made a nice straightedge for scoring the cardboard. The other box made a convenient "table" for cutting, so I wasn't cutting on the floor, but I had to be somewhat gentle.

The astute observer may have realized I was cutting the box the wrong way. The corrugations of the folded pieces should go up-and-down, to provide extra strength. My cutting was producing corrugations from side-to-side. These pictures may help illustrate the point. (And you get to see my youngest daughter, Kayla, helping out. EV projects can include the whole family.)
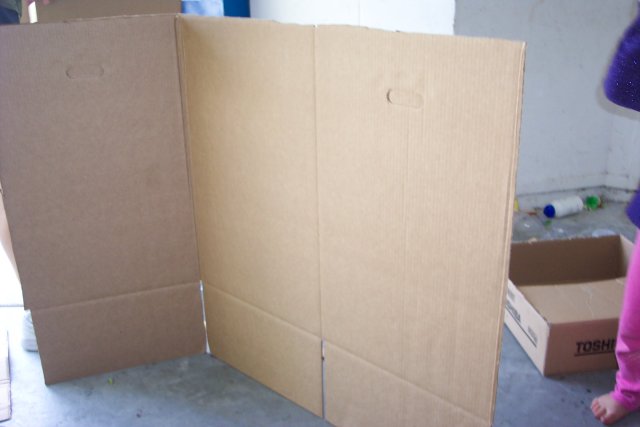
By the time I realized my mistake, this was all I had left of the scrap box. But there's enough left to make good-length strips, as you see. The original box still makes a nice table. When this was finished, my hands were aching.

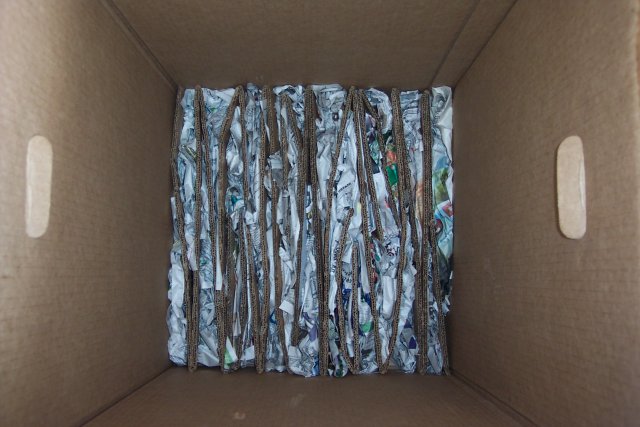
Next, I folded the strips accordion style and placed them in the bottom of the box. I packed newpaper tightly into the folds so they couldn't move around too much.
To distribute weight more evenly, I added a layer of cardboard on top of the folds. Overenthusiasm with packing tape ensures that the bottom tabs won't split open anytime soon, completing the reinforcement of the box bottom.
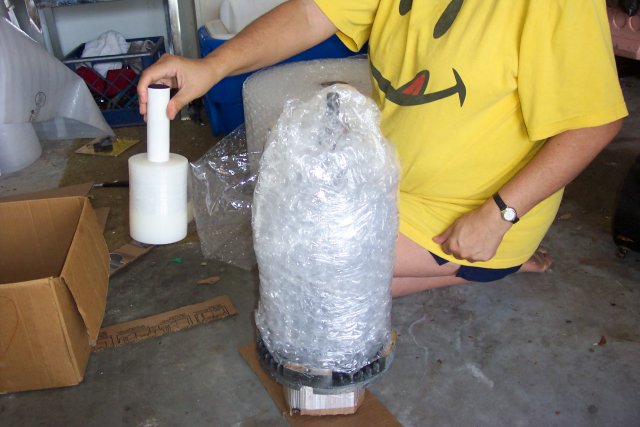
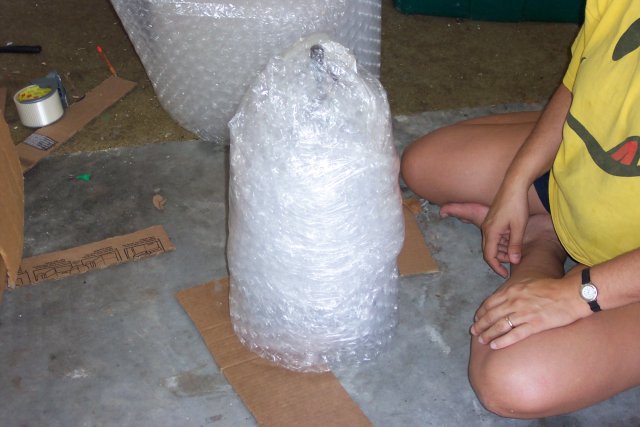
Step 2: Insert the parts. The broken motor is in two parts: this is the one I think of as the "commutator" part. I don't really think the solid metal is going to be damaged by bumping, but I wanted to avoid leaving large spaces open in the box. So I used bubble wrap and clear sealing tape -- Saran Wrap on a roll, really -- to bundle the pieces up.

And here's the comm piece in the box. I was hoping the tape would help keep it in place, but after applying it, I don't think that's possible.

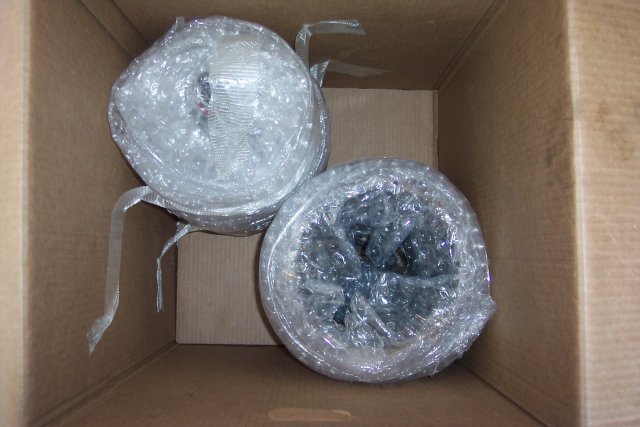
This small, bubble-wrapped packet holds the bolts, broken brushes, and other odds and ends that Jim might find interesting. I placed it into the "can" porition of the motor, bubble-wrapped the whole thing, and put it in the box. It's just big enough to make a tight fit.
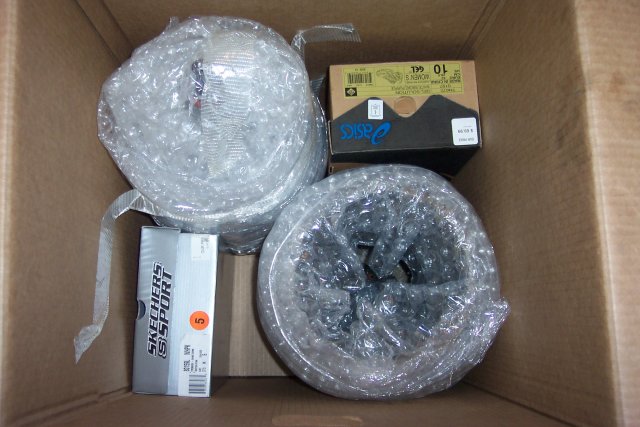

Step 3: Fill any empty space. There was too much space left over to just shove bubble wrap in. So I wrapped a few shoe boxes and stuck them in the empty space.

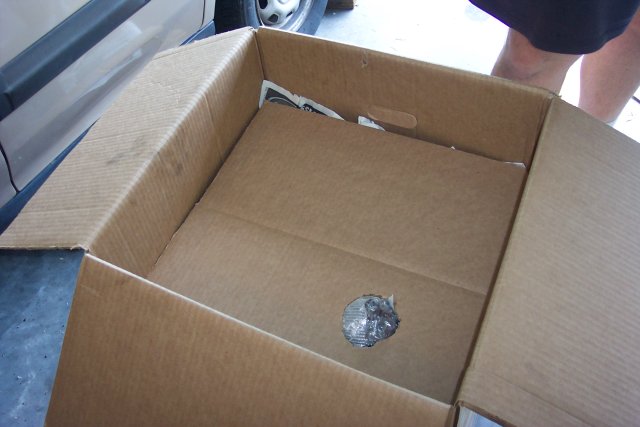
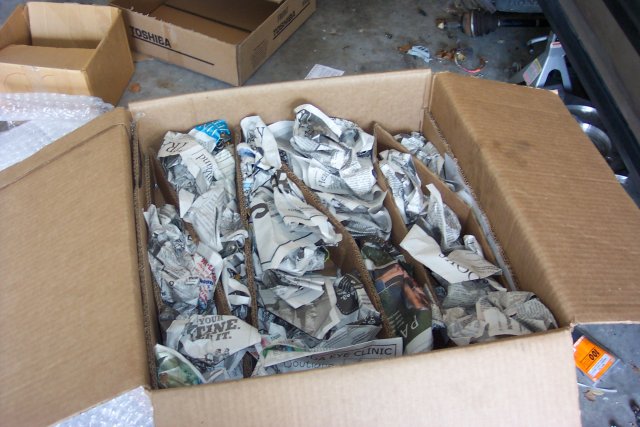
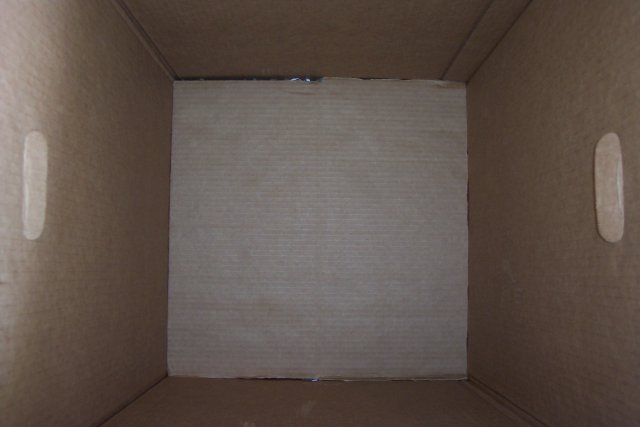
Step 4: Reinforce the top. No, I don't think anything's going to happen, but if it does, I don't want the box ripped. So the top gets some newspaper to fill up the space, a nice piece of cardboard with a hole cut out to fit the tailshaft of the comm piece, and some corrugations on top. Another piece of cardboard helps ensure weight will be distributed as evenly as possible in case of disaster, and there's even a surprise in there for Jim. (It's the old comics from Orlando.)

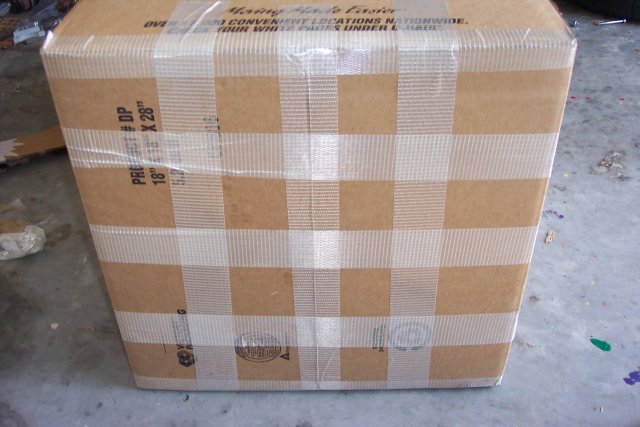
Step 5: Seal the box. Again, I went overboard with the tape. No matter which end is up, the motor shouldn't fall out.
Step 6: SHIP IT! It took me two weeks to determine the best shipment method and get it out the door. DHL was cheapest, at under $80 including home pick-up.
Thus ends the lesson on how to ship a broken motor. It should arrive today; hopefully Jim will leave a comment explaining whether this was a good way or a bad way.