
That's right! Nathan came over today and helped me work on the car. Okay, okay, it's more accurate to say I helped him work on the car. But we got the motor back in! This is the culmination of three days worth of work for me.
UPDATE 2007-05-21: Pictures added. Not as many as I thought.
We started by goofing off for a while. We talked about Command and Conquer: Red Alert II strategy. I've been whipping the other guys during the Friday games, and Nathan's been whipping me when we can get together.
Then we went to serious business: the clutch. This is where my previous work came into play, so let me recap.
Some time ago, I installed the adapter and the adapter hub. The adapter makes the motor look like the original engine, and the adapter hub makes the motor end look like the original crankshaft end. The only even slightly challenging bit was making sure the adapter was aligned properly, so the motor connections pointed down.
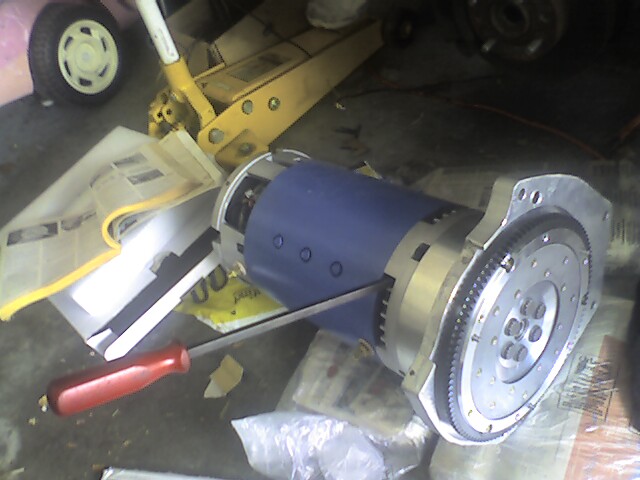
I had also obtained a lightweight flywheel and clutch kit. The flywheel provides a friction surface for the clutch, so you can smoothly connect the motor to the wheels. In the original car, it also keeps the motor turning while the pistons aren't firing. Heavier flywheels make for a smoother ride, while lighter ones allow better acceleration. Since the electric motor has no pistons and doesn't need to be kept moving, I chose the lightest flywheel I could find: 7.5 pounds. I was going to pull off the ring gear and get it balanced, but that cost too much for my budget.

I installed the flywheel, torquing it to 75 ft-lbs instead of the required 76 ft-lbs, because my torque wrench doesn't go any higher. Melissa set the torque wrench for me, and she did a good job. She loves these applied mathematics problems.
The clutch was a bigger problem. Its provided friction disc didn't match the teeth on the transmission shaft. The old friction disc was smaller, and didn't cover the entire friction surface of the pressure plate. Ah, well -- I'm never going to be shifting under power, and the whole thing should be engaged long before I ever apply any torque. As long as I don't try to race, this should work fine.

But we didn't have a clutch alignment tool to match the friction disc! Nathan keeps all his old ones on a zip-tie ring, and I found one that matched the disc, but not the pilot bearing. Then I spent a few hours filing it to make a reasonable match. Finally, I installed the clutch, using a level to ensure it was a close as I could get it with my primitive alignment tool.
Lastly, I tried to install the tach sender. This would have told me I was revving too fast, and prevented me from blowing the motor up in the first place. (A rev limiter would be better, but I'm still looking for one that'll work with an EV.) The magnet collar I got from EVParts.com went on with no problem. The tach sender itself is a threaded 3/8" screw, and there's no place to mount it on the back of the motor.
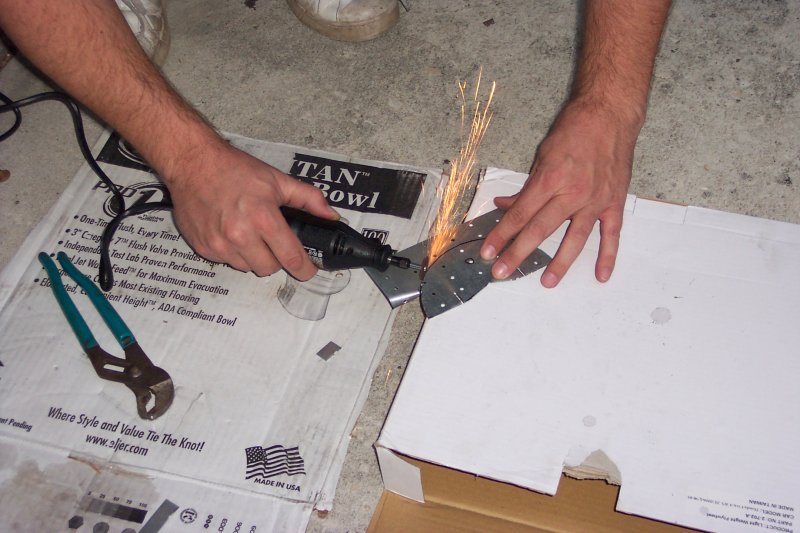
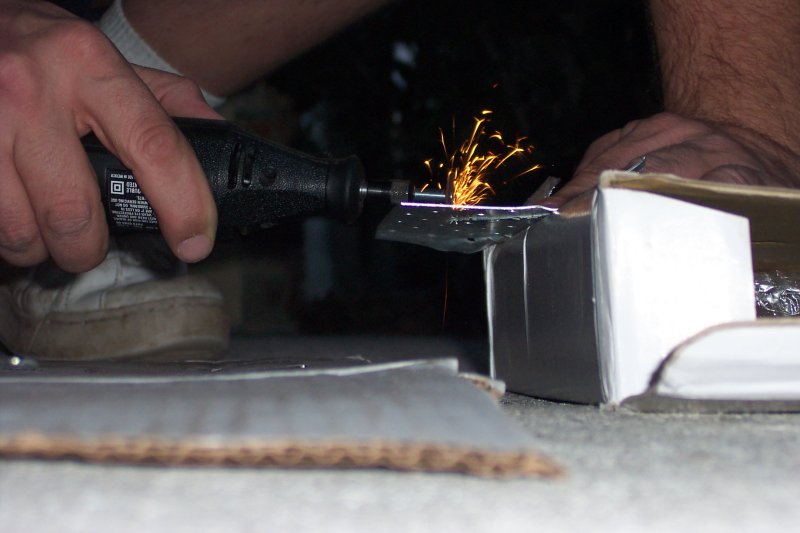
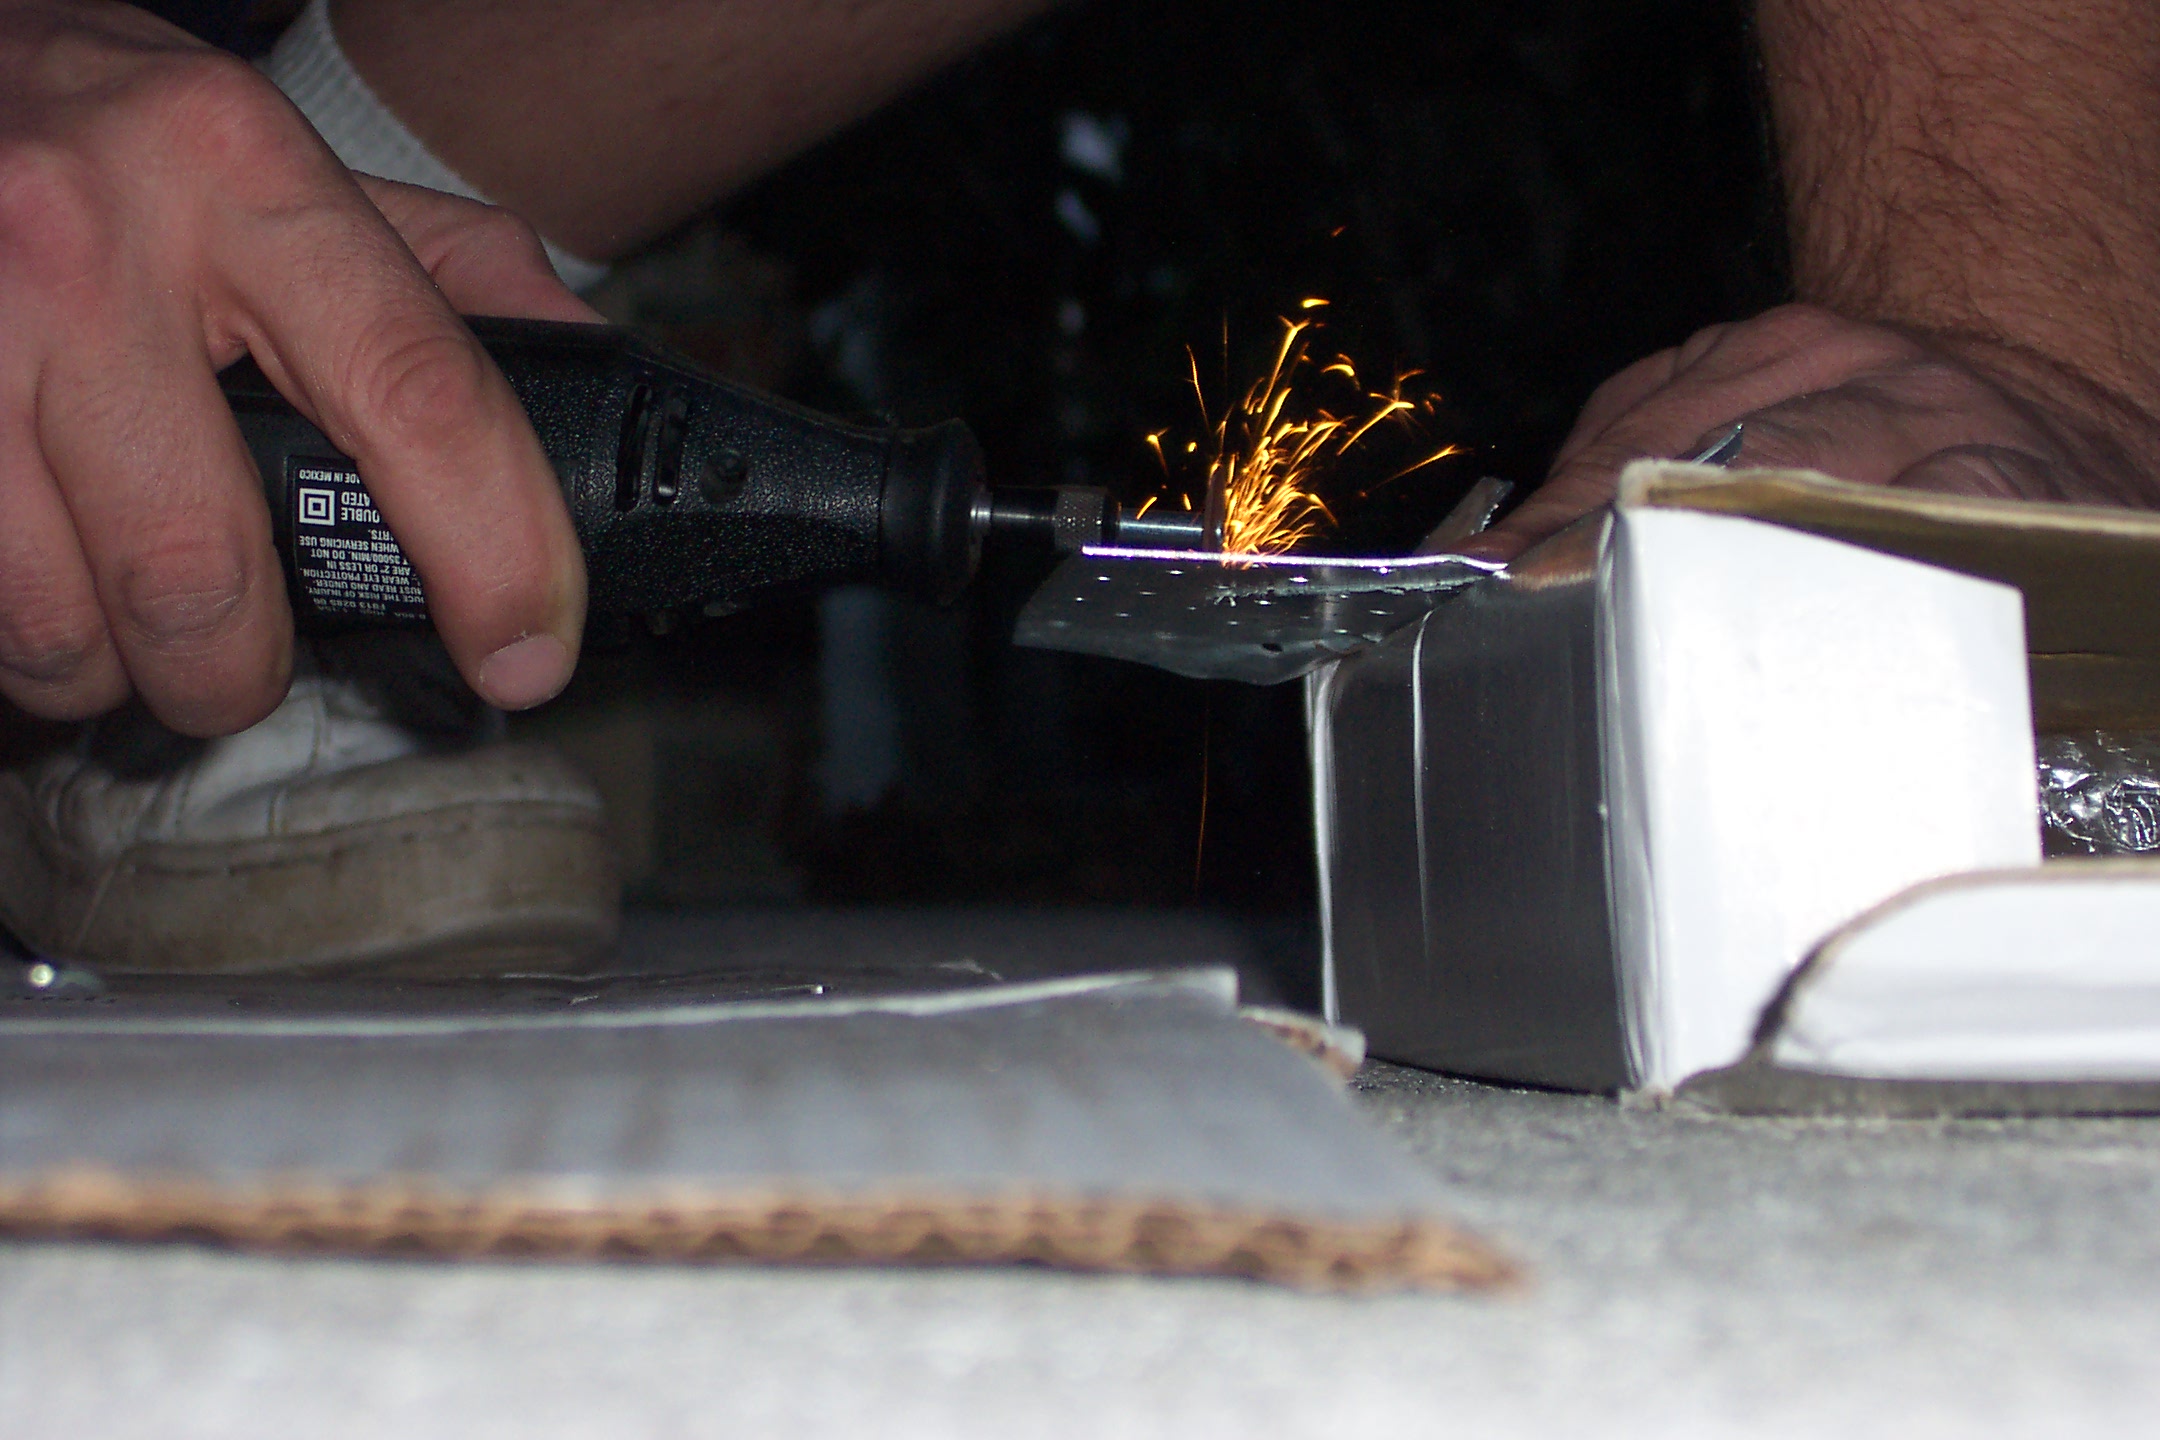
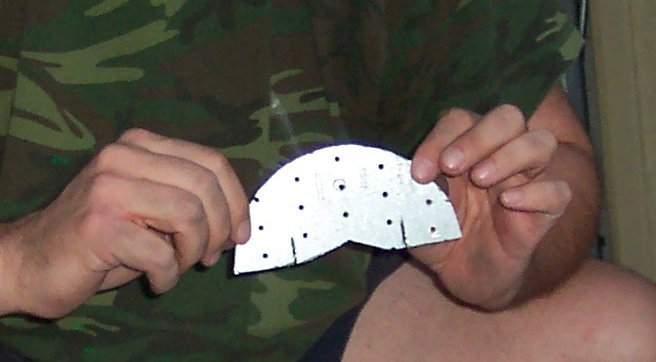
So I built one. I used a paper plate to mock up the structure, including the placement of the screws. I discovered where I'd need to fold and cut to make sure it fit. Then I went to Lowe's and bought a chunk of steel called a "fast connector" (you're supposed to use it to connect two pieces of wood securely), a couple of appropriate bolts (1/2" x 1/2", coarse thread hex heads) and a Dremel tool.

The kids loved this part. I used up two cutting blades getting my template cut. The sparks flew! (Far away from the charging batteries and any petroleum products.) Luckily the holes were all perfectly positioned, so I had guide holes for the drilling. I made them a little oblong to take care of any alignment issues, let the steel cool, and bent it with pliers and a hammer. It fit on the first try. I'm really proud of this bit, as it's the first thing I've built entirely on my own for this project.


So, when Nathan came to visit, he found the motor already assembled. We jacked the car a little higher to make things easier. Then I noticed a bag of bolts lying on the floor, marked "Adapter Hub". Had I forgotten to screw the adapter hub securely in place?
We had to take the whole thing apart to check. That meant we'd have to mess up the friction disc alignment. And I couldn't find my filed-up alignment tool any more. This set us back an hour, at least. Worse yet, when we got the clutch and flywheel off, we discovered that I had done it right in the first place. The bag must have been full of bolts from an older adapter. Or maybe Jim sent them to me as a gift.
We eventually purchased a clutch kit, just to get the alignment tool. When we reassembled everything, I broke off two fins from the cooling-air intake (shouldn't cause any problems, really). Then it turned out Nathan had perfectly aligned the friction disc by eye. We returned the clutch kit for a refund.
The rest of the day was spent jacking, pushing, shaking, bench-pressing, and otherwise cajoling the motor into place. It's really tight in the engine compartment: you must insert the motor at an angle to get it over the transmission shaft, then you can push it on and level it out. The transmission must be partially dismounted to achieve the correct angle. Phew! We proceeded to bolt the tranny, motor, and motor mounts into place.
That was enough for one day. The motor is back in the car, and we'll commence again next week. Still to-do: put the transfer case back on, bolt the suspension back together, and attach the air conditioning compressor and bracket, the controller, and the accessory tray. Then I can put in the batteries and wire everything back up. (I'm tired just thinking of it!)